.png)
FAQ's
We Are Here To Help!
We’re always here to help, but we know sometimes you want quick answers without the wait. That’s why we’ve put together a helpful FAQ section — a place where you can find clear answers to the most common questions, anytime. Take a look, and if you don’t find what you’re looking for, our team is always ready to support you.
- 01
Although parts can be sold, if there is something wrong with your fan please call our office for troubleshooting at 847-680-9043.
We do have a parts distributor - Lighting Innovation at 949-831-7600.
- 02
Step-by-Step Instructions
1. Turn Off Power*
Switch off the power at the circuit breaker before installation.
* Losing power or turning off power to fan will not interfere with the current pairing. The fan’s current pairing will resume when power is restored.
2. Install the Fan
Fully install the ceiling fan following the manufacturer’s instructions.
3. Install the Wireless Wall Control
Connect the house power wire and the lead wire to the fan together.
Push the wires back into the switch box and install the wall control.
4. Check Circuit Setup
Make sure there are no light switches on this circuit.
The fan must receive “all-time live” power directly from the breaker.
5. Turn On Power
Switch the circuit breaker back on.
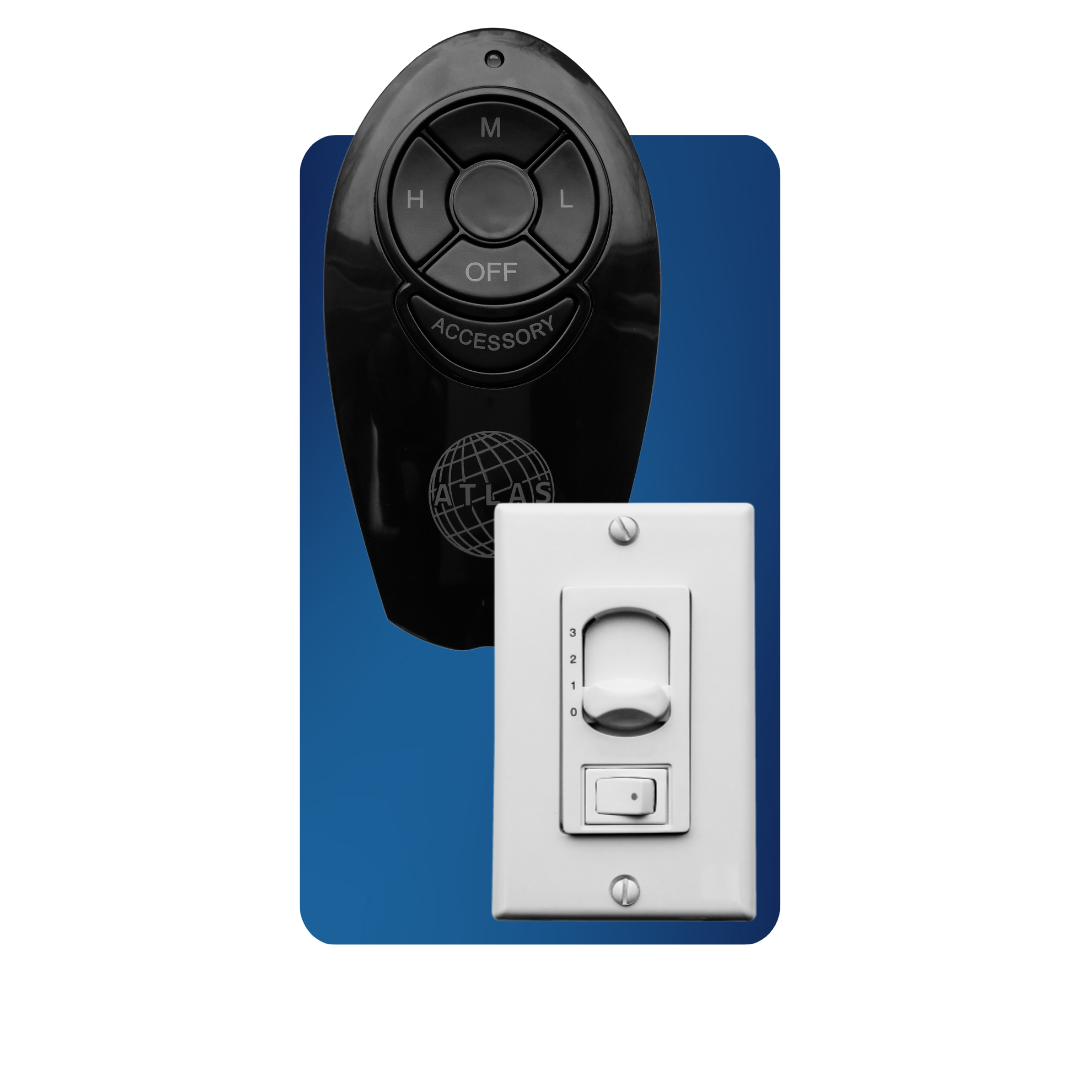
6. Pair/Program the Remote or Wall Control
Go to the fan and press the “SET” button on the control.
On handheld remotes, this is usually inside the battery compartment.
On wall controls, it may be under the faceplate.
For some remotes, the OFF button is used instead of a set button. (Check your user manual.)
7. Programming Process
The fan will automatically spin at full speed in one direction for 2–3 minutes, then stop.
The fan will then spin in the opposite direction for 2–3 minutes, then stop again.
8. Programming Complete
Once the fan has stopped after the second cycle, it is fully programmed and ready to use.
Tip: If programming does not start, repeat Step 6 and be sure the fan has constant power from the breaker.
- 03
This setup ensures each fan has its own breaker and its own remote/wall control.
Programming Fan A
1. Turn Off Power*
Switch OFF the breaker for Fan A.
* Losing power or turning off power to fan will not interfere with the current pairing. The fan’s current pairing will resume when power is restored.
2. Install Fan A
Fully install the ceiling fan.
3. Install Wall Control (Optional)
Connect the house power wire and the fan lead wire together.
Push the wires into the switch box and install the wall control.
4. Turn On Power
Switch the breaker for Fan A back ON.
5. Pair the Control
Press and hold the SET button on the handheld remote (usually in the battery compartment) or the wall control (under the faceplate).
6. Programming Cycle
The fan will:
Spin at full speed in one direction for 2–3 minutes, then stop.
Spin in the opposite direction for 2–3 minutes, then stop.
7. Programming Complete
Once Fan A stops after the second cycle, it is fully programmed.
Programming Fan B
1. Turn Off Power to Fan A
Switch OFF the breaker for Fan A.
2. Turn Off Power to Fan B
Switch OFF the breaker for Fan B.
3. Install Fan B
Fully install the ceiling fan.
4. Install Wall Control (Optional)
Connect the house power wire and the fan lead wire together.
Push the wires into the switch box and install the wall control.
5. Turn On Power
Switch ON the breaker for Fan B.
6. Pair the Control
Press and hold the SET button on the handheld remote or wall control for Fan B.
7. Programming Cycle
The fan will:
Spin at full speed in one direction for 2–3 minutes, then stop.
Spin in the opposite direction for 2–3 minutes, then stop.
8. Programming Complete
Once Fan B stops after the second cycle, it is fully programmed.
Final Step
Turn Fan A Breaker Back On
Now both fans will operate on their own breaker.
Result: Fan A and Fan B are independently controlled and won’t interfere with each other.
- 04
This setup allows both fans to be controlled together by one handheld remote (or wall control).
Step-by-Step Instructions
1. Turn Off Power*
Switch OFF the breaker before beginning installation.
* Losing power or turning off power to fan will not interfere with the current pairing. The fan’s current pairing will resume when power is restored.
2. Install Both Fans
Fully install both ceiling fans.
3. Install Wall Control (Optional)
Connect the house power wire and the fan lead wire together.
Push the wires into the switch box and install the wall control.
4. Turn On Power
Switch the breaker back ON.
5. Pair the Control
Go to one of the fans and press/hold the SET button on the handheld remote (usually in the battery compartment) or on the wall control (under the faceplate).
6. Programming Cycle
Both fans will:
Spin at full speed in one direction for 2–3 minutes, then stop.
Spin in the opposite direction for 2–3 minutes, then stop.
7. Programming Complete
Once both fans stop after the second cycle, they are fully programmed and ready.
Result: Both DC fans are now programmed to run together using one remote or wall control.
- 05
This setup allows you to install several DC fans on one breaker, but program each fan with its own remote so they do not interfere with one another.
Step-by-Step Instructions
Programming Fan A
1. Turn Off Power*
Switch OFF the breaker.
* Losing power or turning off power to fan will not interfere with the current pairing. The fan’s current pairing will resume when power is restored.
2. Install Fan A
Fully install the ceiling fan.
3. Install Wireless Wall Control (Optional)
Connect the house power wire and the fan lead wire together.
Push the wires into the switch box and install the wall control.
4. Turn On Power
Switch ON the breaker.
5. Pair the Remote/Control
Hold down the SET button on the remote (in the battery compartment) or the wall control (under the faceplate).
6. Programming Cycle
The fan will:
Spin at full speed in one direction for 2–3 minutes, then stop.
Spin in the opposite direction for 2–3 minutes, then stop.
7. Programming Complete
Once the fan stops after the second cycle, it is programmed.
Preparing for Fan B
1. Turn Off Power
Switch OFF the breaker again.
2. Disconnect Power to Fan A
Disconnect Fan A’s power line (either at the ceiling or at its wall control).
Important: This prevents Fan A from being accidentally re-programmed when you set up Fan B.
Programming Fan B
1. Install Fan B
Fully install the second ceiling fan.
2. Install Wireless Wall Control (Optional)
Connect the house power wire and the fan lead wire together.
Push the wires into the switch box and install the wall control.
3. Turn On Power
Switch ON the breaker.
4. Pair the Remote/Control
Hold down the SET button on Fan B’s remote or wall control.
5. Programming Cycle
The fan will:
Spin at full speed in one direction for 2–3 minutes, then stop.
Spin in the opposite direction for 2–3 minutes, then stop.
6. Turn Off Power
Switch OFF the breaker again.
Adding More Fans (Optional)
1. Repeat Steps 9–15
Repeat the process for each additional fan you are installing.
Be sure to disconnect power to all previously programmed fans before programming the next one.
Final Step
1. Reconnect Power to All Fans
With the breaker OFF, reconnect Fan A (and others if needed).
2. Turn On Power
Switch ON the breaker.
Result: All fans are on the same breaker, but each has its own unique frequency code and remote control.
- 06
If your ceiling fan is wobbling, it is usually due to installation or balance issues. Follow these steps to resolve the problem.
1. Check Installation (From Ceiling to Blades)
1. Hanger Bracket Screws
Make sure all screws on the hanger bracket are tight and secure.
2. Downrod Ball Placement
Ensure the crevice on the downrod ball is properly seated on the stability tab of the hanger bracket.
The ball must sit firmly with the tab for stability.
There must not be any slack where the ball attaches to the downrod — check that the set screw (on the side of the ball) is tight.
3. Downrod Coupling Screws
Where the downrod connects to the fan motor, check the two screws under the coupling cover (set at a 45° angle).
Tighten these screws securely.
4. Blade Screws
Verify that all blade screws are tight where the blades attach to the motor.
5. Ceiling Slope
Standard downrod fans include a mount for ceilings up to 29° slant pitch.
For steeper ceilings (e.g., cathedral ceilings), use the optional 60° slant ceiling mount accessory.
2. Blade Balance Issues
If the fan still wobbles after tightening everything, the issue may be unbalanced blades.
This is rare because our blades are real wood and CNC machine cut, but it can happen.
Please call our office at 847-680-9043 for support.
Tip: Most wobbling is fixed by simply tightening screws and ensuring the downrod ball is seated correctly with the set screw tightened
- 07
If you hear a clicking sound from your fan, it is often caused by loose parts, improper installation, or normal motor break-in. Follow these steps to diagnose and fix the issue.
1. Hanger Bracket
Remove the decorative ring and unscrew the two screws on the ceiling canopy.
Lower the canopy to access the hanger bracket.
Check the hanger ball:
The ball has a crevice that must sit on the stability tab of the hanger bracket.
Slowly rotate the downrod — you’ll feel when the slit locks into place on the tab.
Tighten all screws securely.
Replace the canopy and decorative ring.
2. Coupling Cover
Locate the coupling cover with a decorative ring on top of the motor housing.
Loosen the set screw and slide the coupling cover up.
Check where the downrod connects to the fan motor.
Two screws go in at a 45° angle.
Tighten these screws securely.
Re-secure the coupling cover.
3. Blades
Remove the blades one by one.
Check that the blade irons are tight on the motor.
Reinstall blades securely to ensure no wobbling or looseness.
4. Downrod
Verify the type of downrod:
New downrods are non-threaded.
If your downrod is threaded, ensure the threaded side goes into the ceiling canopy and the non-threaded side attaches to the motor.
5. Motor Break-In Period
Run the fan continuously for 24 hours on any speed.
This allows the motor bearings to self-lubricate with heat and motion, which can reduce or eliminate minor noises.
Tip: Most clicking sounds are solved by tightening screws in the hanger bracket and coupling cover. If the sound continues after these checks, it is usually part of the short break-in period and will improve with use
- 08
Rotational fans work differently than standard paddle fans.
Note: There is no motor in the central housing.
The fan rotates by centripetal force, and the motors are located behind the blades.
If your rotational fan is not rotating, follow these steps:
1. Check Blade Position
Make sure the fan blades are pointed downward toward the ground.
This ensures proper balance and centripetal force.
2. Adjust the Coupling Cover
Locate the coupling cover (the cone-shaped “volcano” piece above the central housing).
Loosen the set screw on the coupling cover.
Push the cover up slightly to remove any friction with the central housing.
A pinky finger width gap is recommended.
Test the fan — in many cases, this will allow the fan to start rotating.
3. Check the Braking Mechanism (If Still Not Rotating)
Remove the bottom cap of the central housing.
Inside, you will see a black plastic piece shaped like a three-prong claw.
On top of the claw are a couple of gears.
This is the braking mechanism, which prevents the fan from spinning out of control.
Sometimes it may be overtightened.
Locate the small set screw on the side of the claw.
Loosen the screw slightly.
As you do this, the claw will drop slowly, reducing friction.
4. Restart the Fan
Turn the fan back on.
With the coupling cover adjusted and the braking mechanism loosened, the fan should now rotate properly.
Tip: Most issues are resolved by loosening the coupling cover to remove friction. Only adjust the braking mechanism if the fan still doesn’t rotate after that.
.png)
_edited.png)
Troubleshooting
Select your remote from the list below to help you find the answer to your questions quickly.